
A logo is the foundation of your brand identity and is more than just a pretty image. Customers will connect with your products, services, and values with this visual shorthand.
A well-designed logo can build trust, attract attention, and set you apart in a competitive marketplace. While there are a number of tools available for logo creation, Adobe Photoshop remains a powerful and versatile option for designers of all levels.
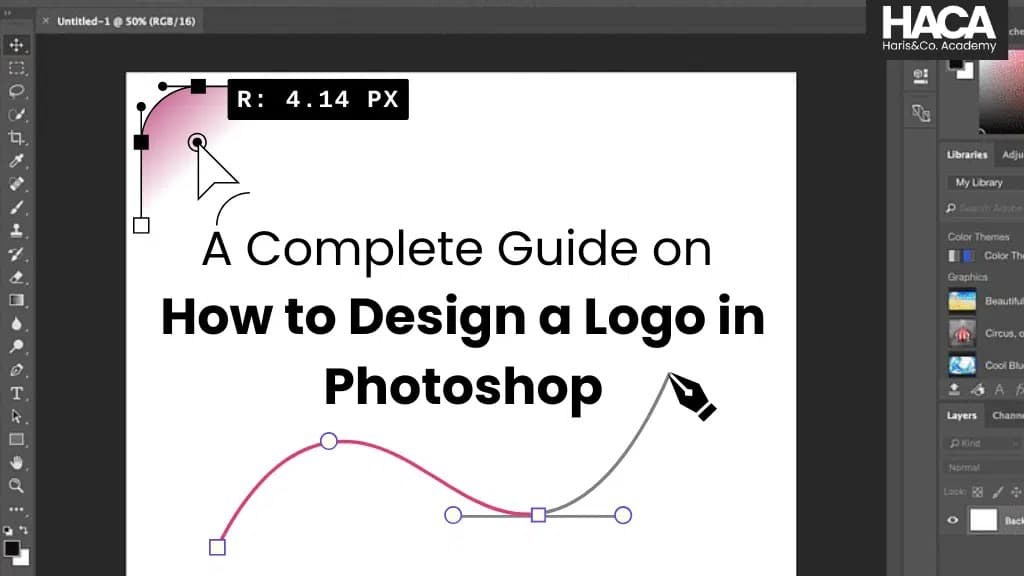
This complete guide will lead you through the essential steps of how to design a logo in Photoshop, from initial concept to finished save.
Logo Design Principles You Should Know
Before you even open Photoshop, understanding the basic principles of logo design is essential. These principles will help you make creative decisions and guarantee that your logo is timeless and effective.
Simplicity: A successful logo should be simple and easily recognizable. A design that is too complicated may be difficult to remember and may not translate well across different sizes and mediums. Think of the iconic logos for brands like Nike or Apple, they are memorable because of their simplicity.
Memorability: The simpler the logo, the more memorable it is. Your logo should be unique enough to stand out from the competition but simple enough that people can remember it with just a quick look.
Timelessness: A great logo should be able to stand the test of time. Avoid trends and fashions that might make your logo look outdated in a few years. Aim for a design that will be in style for many years to come.
Versatility: Your logo will be used in multiple places, from a small profile picture on social media to a large billboard. It must be attractive and readable in all of these various sizes and contexts. A versatile logo looks attractive in black and white as well as colour.
Appropriateness: The logo should be suitable for the company it represents. For example, a logo for a children’s toy company should have a different feel and color palette than a logo for a law firm. The design should convey the right message to the target audience.

By keeping these principles in mind, you can create a strong foundation for your design process and ensure that the end result is a truly effective logo.
How to Create Your Logo in 5 Steps With Photoshop
Now that you understand the principles, let us move on to the actual procedures of how to design a logo in Photoshop.
Preparation and Concept Development
Before you touch Photoshop, get a clear understanding of the brand’s identity, values, and target audience. Brainstorm ideas and sketch them on paper.
This low-tech method allows you to experiment with different ideas without any software restrictions. Select a few of your best sketches to work on in Photoshop.

Setting Up the Document
Open Photoshop and create a new document. For a high-quality, scalable logo, a good starting point is a large canvas, such as 2000 x 2000 pixels, with a resolution of 300 PPI (pixels per inch).
Importantly, choose ‘Transparent’ for the ‘Background Content.’ This ensures that your logo can be used on any surface and has no background.

Shapes and Vector Tools
Use Photoshop’s vector tools, primarily the Shape Tools (Rectangle, Ellipse, and Polygon) and the Pen Tool, to build your logo. Unlike raster layers, shape layers are vector-based within Photoshop, meaning they can be resized without losing quality.
This is the most important step in learning how to create a genuinely adaptable logo in Photoshop. Create complex forms from simple shapes by combining them using the Pathfinder options.

Adding Typography
Typography is a key element of any logo that includes text. Select a font that is easy to read and that aligns with the personality of the brand. After selecting your font, use the Type Tool to add the brand name or a tagline.
To ensure the text remains sharp and can be resized without issues, right-click the text layer and select ‘Convert to Shape.’ This turns the text into vector shapes that can be adjustable and resized.

Colour and Final Touches
Now, it is time to bring your logo to life with color. Select a color palette that reflects the brand’s identity and emotions. Keep it simple, two or three colors are enough. Pay attention to negative space, visual balance, and alignment.
Please ensure that the logo is effective in both black and white. Once you are finished and satisfied with the design, save your working file as a .PSD and export your final logo in various formats for different uses, such as PNG with a transparent background for web use and a high-resolution PDF for print.

4 Tips to Make the Most of Your Logo
Creating a logo is only the first step. Consider these four suggestions to make sure it properly represents your brand:
Test Your Logo in Different Contexts: Do not just look at your logo on a white screen. Place it on a mockup of a business card, a website header, a T-shirt, and social media profile pictures. This will show how well the logo works and whether any changes are required for influence and readability.
Create a Logo Style Guide: Even a basic style guide is very important for maintaining brand consistency. It should include the exact color codes (CMYK, RGB, Hex), the fonts used, and guidelines on proper and improper usage (example, minimum size and spacing around the logo).
Save in Multiple Formats: A professional logo package includes a variety of file types.
Vector Files (AI, EPS, PDF): Printers and other designers use these and they are essential for adaptability.
High-Resolution Raster Files (PNG): With transparent backgrounds for web and digital use.
JPEG: A compressed format suitable for a variety of web applications where a solid background is required.
Consider creating variations of your logo to ensure it appears in different formats as needed. Create a horizontal and a vertical version.
Also, have a smaller version (such as an icon or monogram) for situations where space is limited, like in a favicon or app icon.
Conclusion
It takes a combination of technical expertise and creative thinking to create a powerful logo in Photoshop.
You can produce a visual representation that accurately conveys the core values of your brand and attracts your target audience by understanding your brand and skillfully using Photoshop’s tools for shapes, typography, and color.
Scalability and adaptability should always be given top priority during the design process. If you want to learn advanced design methods and expand your knowledge of visual communication, consider enrolling in our graphic designing course in Kerala.
